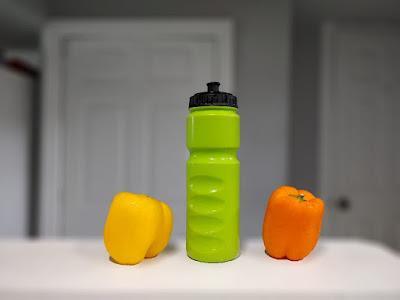
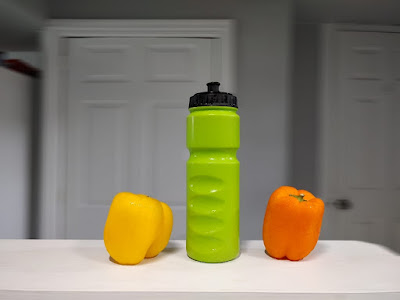
In this post, we will cover three ways by which you can blur your background with your phone, and trust me, I have been using "Last One" for a long period, so stick to the post to get some useful knowledge regarding phone photography.
1) Portrait mode
This is the most common way to blur the background while capturing the photo. Nowadays, almost all smartphones have this option. This mode is different from the normal photo mode, you need to select the "Portrait" option under your camera settings if you want to use this feature. Different phones have different locations for this feature but it's not hard to locate this mode.
Camera Interface of LG G8X
As you can see in the photo, there is a "Portrait" option. You can click on this option to click the blurry background photo. Once you have selected the option then you have to maintain the distance from the subject to get the proper blurry background effect otherwise you will click the normal photo. Other than distance, you have to lock the focus and on some phones, you get a message that "Portrait mode is available". If you are taking a photo of a person then you will get a square or round-shaped icon around the person's face, once that box turns from white to yellow then it means, the focus is locked and portrait mode is available.
Portrait Mode(LG G8X)
Note: All these steps apply to the iPhone as well
Steps:-
1) Clean your camera lens. Remember, "never forget to clean your lens".
2) After opening the app, select the portrait option.
3) Maintain the proper distance between the phone and the main subject to get proper bokeh.
4) FOCUS on the subject. Never ever forget to focus on the main subject otherwise, you won't get the desired photo.
5) BOOM, click the photo.
Note: You can click the photo in any orientation. Portrait means vertical but here that is not the case, you can click blurry background or portrait photo in the landscape orientation as well.
2) Get Closer to the subject
If you want a DSLR-like blur then this is the best way of achieving that. You will get sharp edges around the subject which is not the case with portrait mode. In portrait mode, you may or may not get sharp edges but with this method, you will surely get a good bokeh effect and sharp edges. What you will need to do? Just get closer to the subject, focus, and BOOM, you will get stunning images with awesome background blur and great clarity.
Normal Photo Mode(LG G8X)
Closer Shot(LG G8X)
You can notice the blurry background in the second shot, this is why you should get closer to the subject if you want to get crisp bokeh from your phone.
Note: Do not get too closer to the subject otherwise your main subject will be out of focus and the whole image will turn out to be completely blurry
Steps:-
1) Clean your camera lens. Remember, "Never forget to clean your lens".
2) After opening the app, select the photo or default camera option.
3) In this method, you will need to maintain a proper distance between the phone and the main subject but also between "main subject and background" too.
4) FOCUS on the subject.
5) BOOM, click the photo.
3) Using an app called "Afterfocus"
What if you have clicked the photo and you want to get that blurry background effect in that photo. There is no problem with that, you can still achieve that blurry background in your photo. You will need to download the app called "Afterfocus". This app is available free for both Android and iOS, I will link the app at the end of this post. Initially, you will struggle to achieve proper background blur but once, you will get used to it then you will like this app a lot. I have been using this app for a long time which is why I would recommend you to give it a try.
So, how to use this app? You will need to follow the below steps to achieve blurry background in your photos.
Lens Blur(Afterfocus)
Steps:-
1) Open the app, here you don't need to clean the lens ;)
2) Click on the "Album" option and then select the photo which you would like to edit.
3) You will be asked to select the method which you will like to prefer for editing. Here, I would suggest you go with "AI" IF the photo is for a person otherwise go with the "SMART" option. Then you will see some instructions about using the app, close that and let's begin.
4) You will see an option like "Human" click on that and then draw a line on "Main subject" on which you want to be in focus.
5) After this, click on the "Tree" shaped option and draw a line in the background area(Blurry portion).
6) You will see that the "Main subject" will be darker red whereas the background will be lighter red.
7) Now comes the main thing, you will need to look for edges around the main subject. Your main subject should be covered with dark red color, if you see any "Non-Red" portion in the foreground or around the main subject then you will need to make it focused by selecting a tool and painting it.
8) IF there is a non-red portion around the main subject that needs to be in focus then select the "Pencil" option from the left side tab and then zoom in(Pinch zoom) on the area which is non-red or out of focus. Then start painting those areas slowly, just make sure you do not miss any portion which is supposed to be in focus.
9) WHAT IF you painted the background portion as well, No problem. Select the "Eraser" option from the left tab and then zoom(Pinch zoom) into the portion which needs to be corrected. Slowly erase the excessive paint.
10) Once you are done with these steps, click on the "NEXT" option located at the top right corner of the app.
11) Here you can notice all the flaws which you have in the editing. If you see no issue with the editing then you are good to go otherwise you can go back by clicking the "Back arrow" located at the top left corner of the app.
12) IF you think there is no issue then you can experiment with the photo which edited. You get multiple options like Blur, Aperture, Fading Bag, Filter, Effect, etc. You can use these options to make your photo more aesthetic.
Tip: Try to avoid using full-strength of blur while editing in Afterfocus because it will look artificial. If you want natural blur then try to keep it below 70%.
Uses of different options in the Afterfocus:-
1) Blur:-
You can use this option to make changes in the blur levels or blur type. There are three types of blur options available LENS BLUR, MOTION BLUR, and ZOOM BLUR. All these blur options can be used based on the type of photo you are using.
i) Lens Blur:- This is the most common blur option which can fit into almost any type of photo. But, mostly this option suits portrait photos(Person's photo).
Lens Blur(Afterfocus)
ii) Motion Blur:- This option suits photos in which there is some kind of motion. For example, a moving car or bike.
Motion Blur(Afterfocus)
iii) Zoom Blur:- This option also suits most of the photos. You can use this option to stand out from the crowd.
Zoom Blur(Afterfocus)
2) Aperture:-
You might have seen some photos where the background blur has some shapes like heart, round, star, etc. Those things can be achieved by using this option. Especially, if your background has some lights then you must use this option to enhance the overall photo. There are multiple options to choose from, for example, round, square, pentagon, hexagon, heart, star, etc.
3) Fading Bag:-
With this option, you can blur out a particular potion. You get two options under this, either you can select the vertical option or the horizontal option. You can change the sizes of both after selecting the option. However, this option isn't that useful according to me.
4) Filter:-
This is an awesome feature because you can use two different filters for background and foreground. You get three options under the filter, FOREGROUND, BACKGROUND, and WHOLE. You can choose a filter for the foreground and keep the background as it is and you can do the same for the background or the most interesting is to use different filters for the foreground and background.
XPROCES Filter(Afterfocus)
5) EFFECT
At last, you get this option and under this option, you get four more options, VIGNETTING, COLOR MASK, STICKER, and SHARPEN. Out of these, vignetting is most useful. You might have seen some photos with blackish touch, that touch can be achieved by the Vignetting tool.
Tags:
Tips and Tricks


